If you are, just like me, fairly new to
Orbiter you probably are a bit confused about the whole
Field of View (FOV) thing, and the user manual just doesn't really help explain what exactly is the FOV and what value you should be using:
The camera aperture can be adjusted under the FOV tab in the Camera dialog. The supported range is between 10 and 90 degrees (Orbiter definies the field of view as the vertical aperture, between the top and bottom edge of the simulation window). The most natural aperture depends on the size of the simulation window on your screen and the distance between your eyes and the screen. Typical values are between 40 and 60.The trick to understand the FOV, is to realize that your screen (or the window if you are not running in full screen) is seen by Orbiter as a window on whichever spacecraft you happend to be flying. So what you are seeing on your screen, is pretty much what you will see in reality if you were looking from a given position inside your spacecraft (the viewpoints are sets by the spacecraft's developers as the position of your eyeballs inside the spacecraft).
In order to render on your screen a realistic view, Orbiter need to know how far away from your screen you are, so that it can adapt the rendering. Considere this: If you are looking outside from your house, at a car parked on the street and that you step away from the window to about twice the distance you were at before, the car will not look twice smaller than before ... However, if you do the same whiles looking on your screen, that spacecraft you were going to dock with will look twice smaller ... not very realistic, right?. To help avoiding this kind of effect, you need to adjust the FOV value according to the distance from the screen to your eyes.
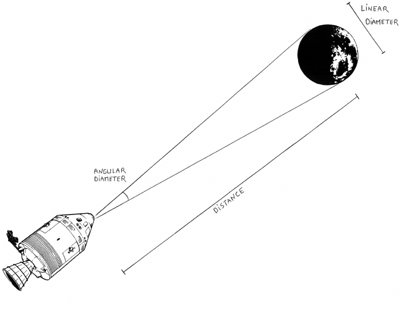
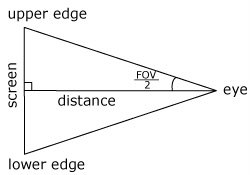
Calculating the FOV is actually not very complicated as it is simply one of the angles from the triangle formed by your eyes and the vertical edges of the screen:
With a bit of basic
trigonometry, we can write the following formula:
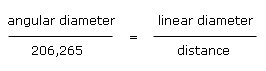
(screen_height / 2) / distance = tan (FOV / 2)and calculate the FOV as
FOV = 2 * tan-1((screen_height / 2) / distance)
In my case, the distance from my eyes to my screen is around 53cm and the height of the viewable part of my screen is 27cm (I use Orbiter in full screen). If I apply the formula above, I then obtain a FOV value of about 0.499 ... huho ... oh wait it's in
radian! A quick conversion to
degree (value * 180 / Pi) and I have a value of 28.6 that I can directly enter in Orbiter as my FOV :)
If you are still a bit confused, considere that Orbiter is interested in knowing how much of your vertical field of view is occupied by your screen, so that it can render what you will be seeing if your were in a spacecraft, looking trought a window of the size of your screen. Of course, because our screen sizes are limited, we only see a small portion of what you will see in reality (human vertical field of view is around 180 degree), but thanks to a proper FOV value what you see is realisticaly scaled and located.
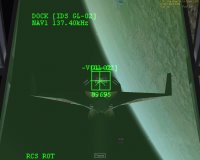
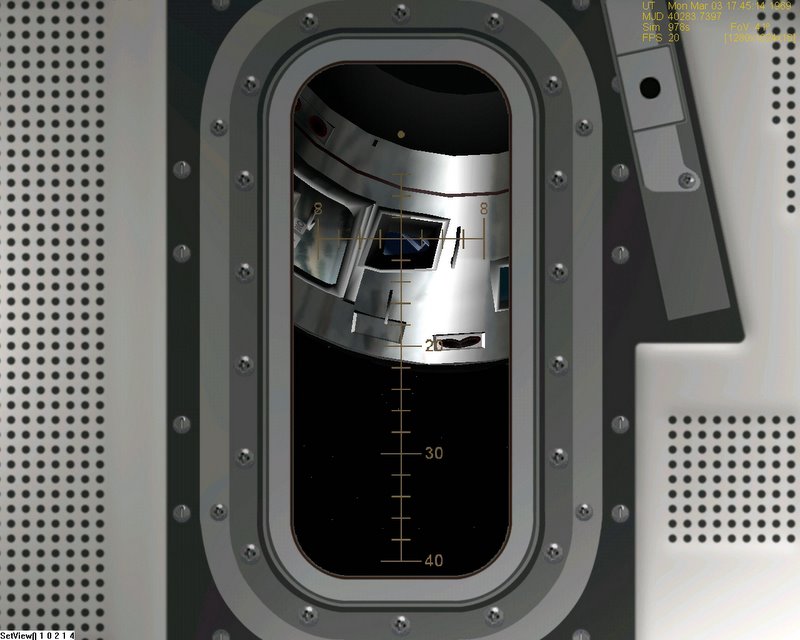
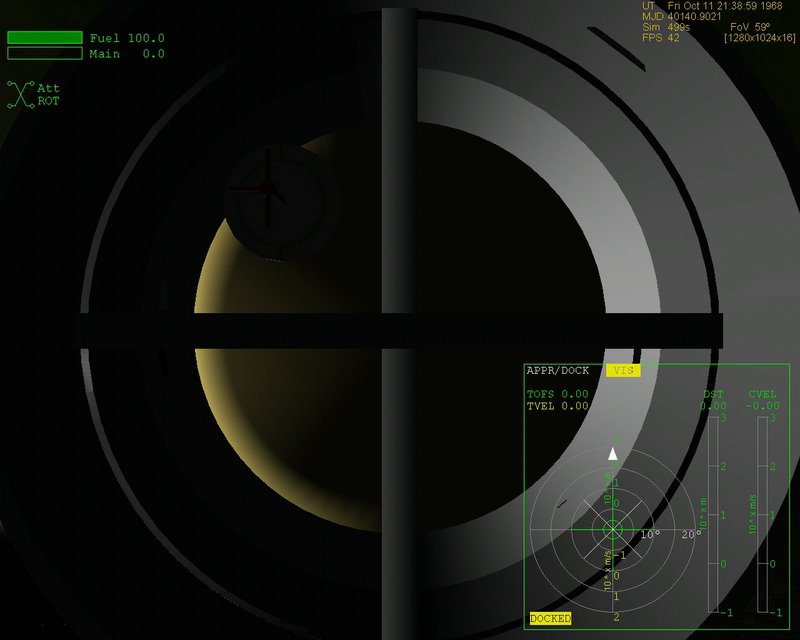
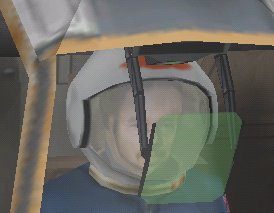
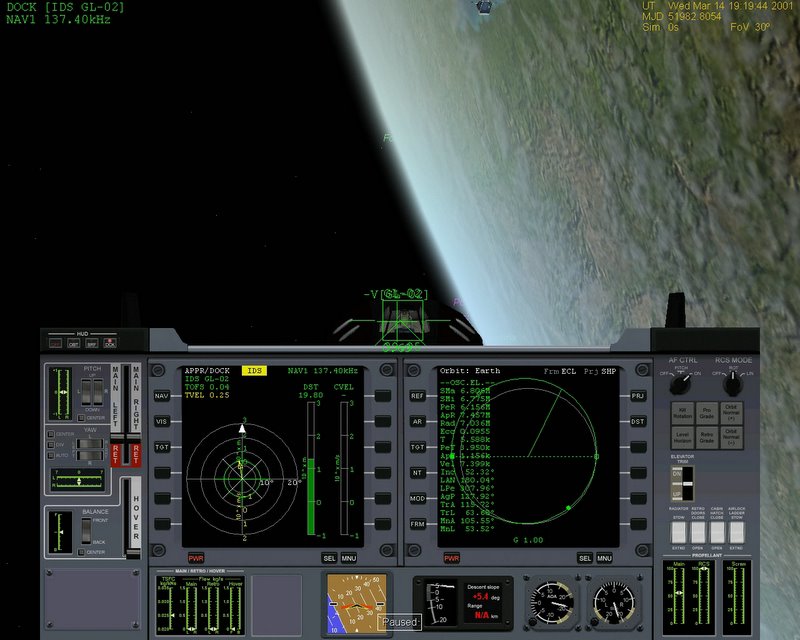
Let's look at what I see on my screen when using the virtual cockpit (VC) of the Delta-Glider (DG) with the FOV value we just calculated:
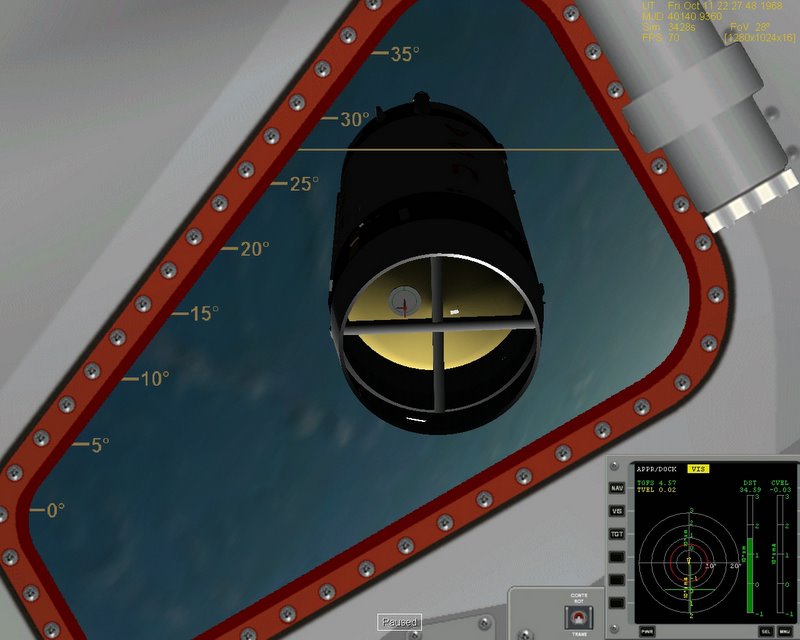
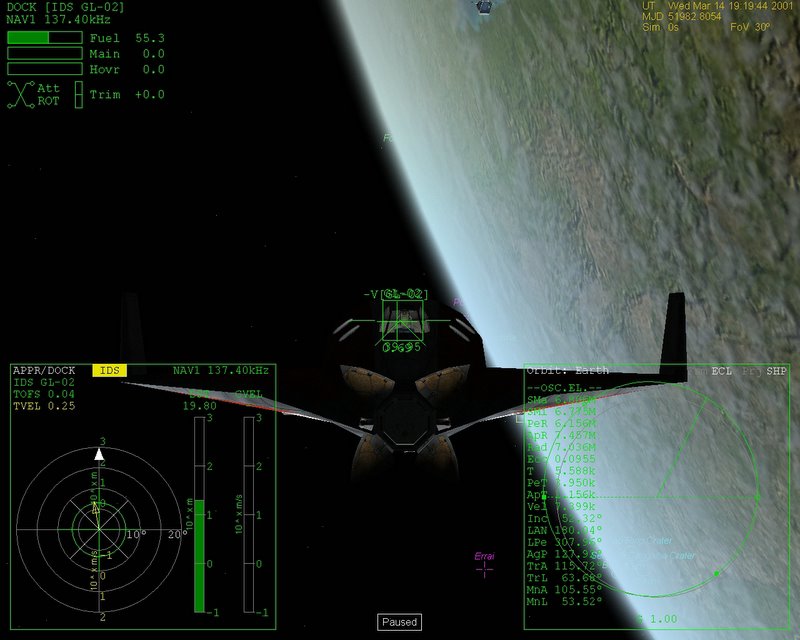
Pretty up-close eh? Did I made a mistake? Let's have a look at the spacecraft in outside view:
Hmmm ... it looks like what Orbiter is showing us in the cockpit view is about right ...
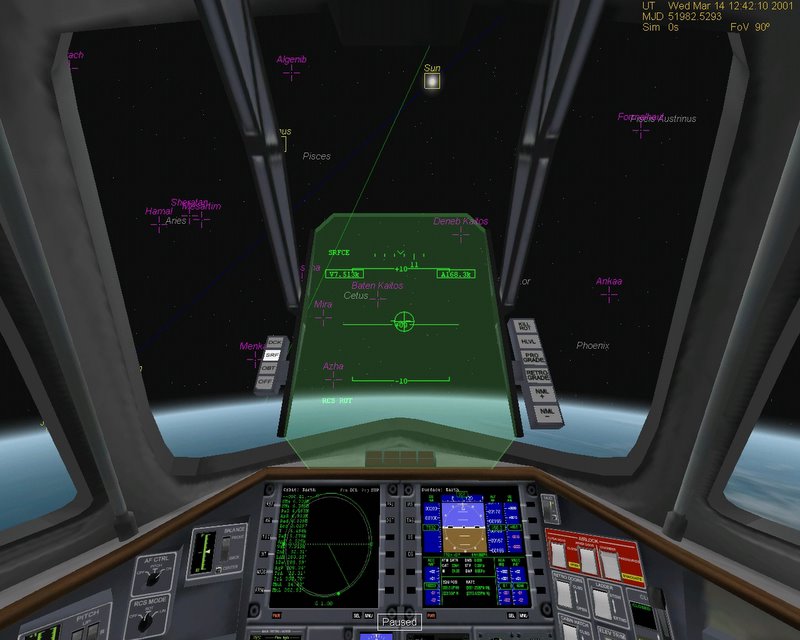
The
Head-up display (HUD) is really right in front of the pilot eyes, so the FOV we calculated is (about) correct. Now, if you want to see some of the instruments, you need to move
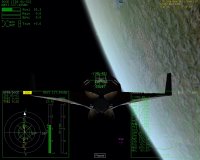
your virtual head around quiet a lot ... and that can be a bit inconvenient. Depending on your preferences you may want to adjust the FOV to allow you to see more of the cockpit. It will be less realistic looking (specially with a very high FOV), but more practical. The following screenshot show the VC with a FOV of 90 (note the distortion on the edges of the image):
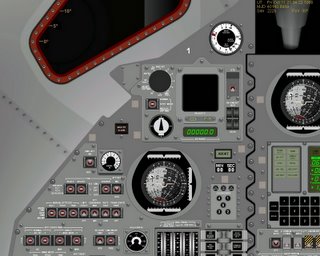
It is interesting (but somewhat not surprising) to know that whatever cockpit mode you are using (VC, 2D or generic), the view that Orbiter renders will alway be the same:

I don't know about you, but something on the second images above doesn't feel right to me ... In Orbiter, the 2D cockpits are simply rendered on top of the 3D view without any scaling to adapt the size of panels to whatever FOV you are using, leaving on the same screen two displays that are not at the same scale, thus somewhat throwing your brain off-balance when trying to to estimate distance and size. There is nothing wrong with the way Orbiter do it, but I beleive that adapting the FOV when using a 2D cockpit may be required when you want to look at something that look somewhat realistic. In the example above the 2D cockpit as a screen width around the same than the HUD in regard to the scene, altought it will be many times bigger in reality. Your brain may realize that the panels are a scaled down version of the reality so the scene shown must also be scaled ... From there, it's all about
perception and how close to the real thing you want to stay.
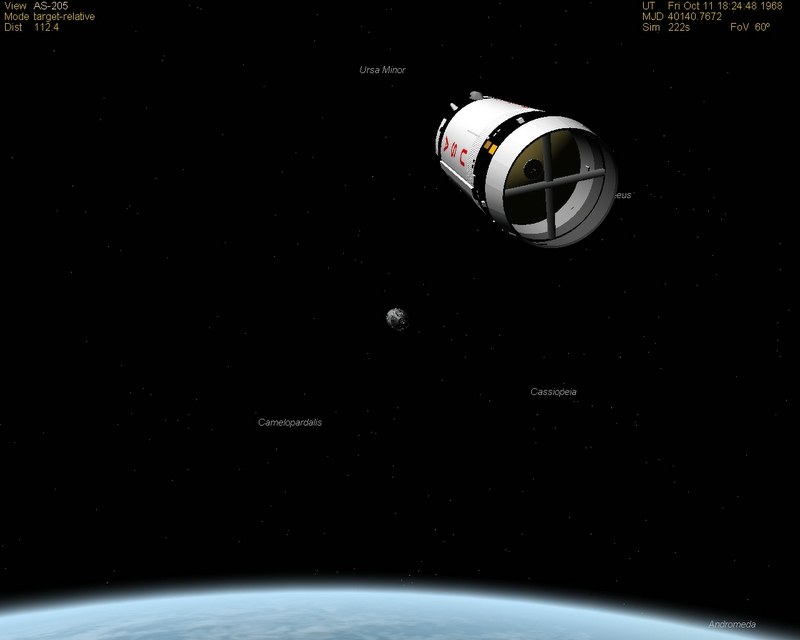
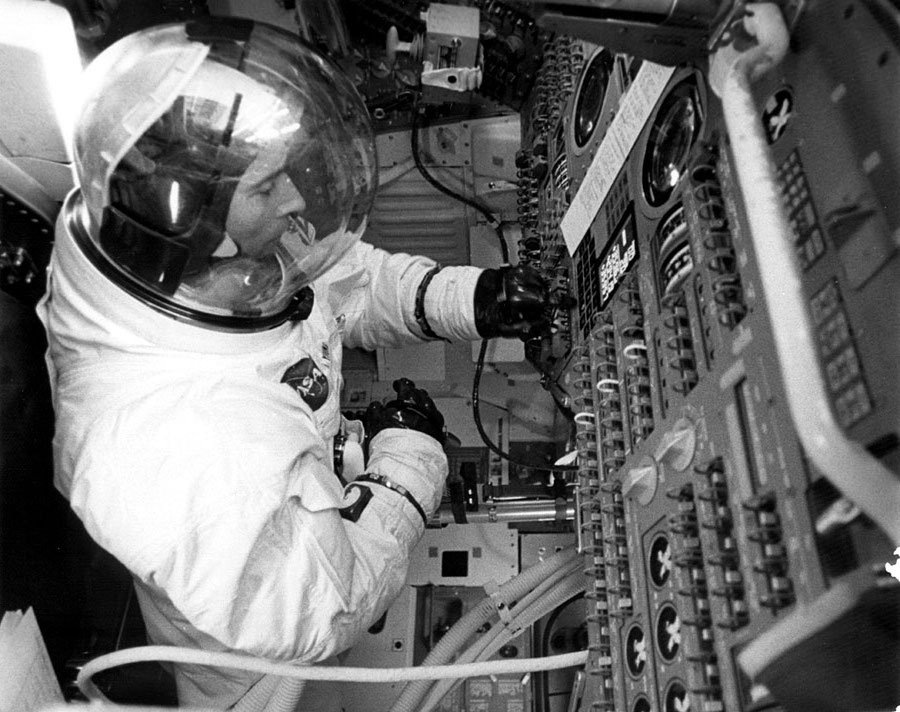
In the next post, I will try to explore this question with the georgous
CSM and
LM 2D cockpits made by the
NASSP team:
Don't hesitate to comment on this post if you have any question, objection or comment related to its quality or content. Thanks.

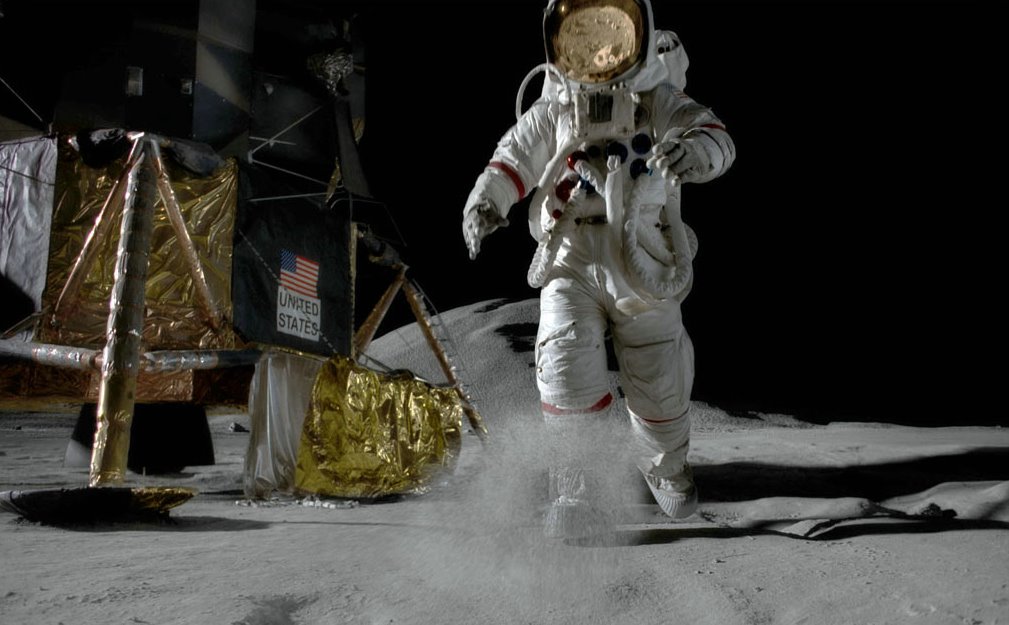
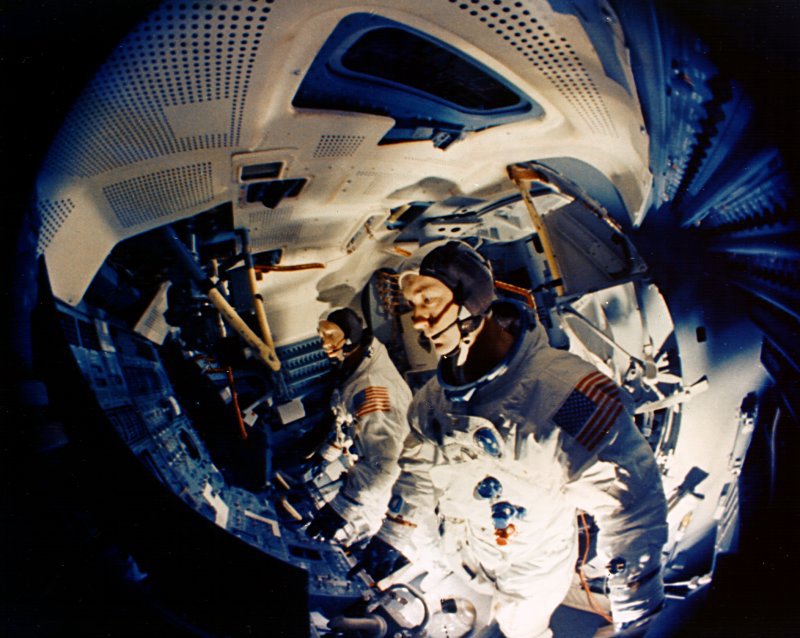
 It was 36 years ago today, that the Apollo 12's crew, composed of Pete Conrad (CDR) and Alan Bean (LMP), was landing their Lunar Module in the Ocean of Storms. The crew on this mission was kind of an oddball in comparison of the other crews, simply because the 3 of them (let's not forget the CMP, Richard Gordon) were best buddies, when most of the other crews had mixed level of friendship ... Even some tension at time like in the case of Apollo 11 crew. If you have some free time (lots of it) on your hand, I will suggest reading the Flight Journal and the Lunar Surface Journal for this particular mission. There is a wealth of information on both web sites, You won't regret the time spend on them :-) And you'll be able to see the various laughts and jokes exchanged by the crew and the Capcoms. A very pleasant read for sure. Also, don't miss the video of the landing (10mb), and its accompagning orientation document (terrific work by Gary Neff). Speaking of pleasant things, I'll be away from this blog for the next two weeks for some (well deserved) vacations! Whoopie! :)


